
Download the email attachment containing your new email signature.
On Mac:
Go to your Downloads folder.
Double-click the .zip file.
A new folder will automatically appear.
On Windows:
Go to your Downloads folder.
Right-click the .zip file.
Click Extract All…
Click Extract.
On Mac:
Go to your Downloads folder.
Double-click the .zip file.
A new folder will automatically appear.
On Windows:
Go to your Downloads folder.
Right-click the .zip file.
Click Extract All…
Click Extract.
Open the new folder you just extracted.
Find the file called something like: signature.html.
Double-click this file.
It will open in your internet browser (like Chrome, Edge, or Safari).
You should now see your email signature displayed properly.
On Mac:
Click anywhere inside the signature.
Press Command + A.
Then press Command + C.
This copies it.
On Windows:
Click anywhere inside the signature.
Press Ctrl + A.
Then press: Ctrl + C.
This copies it.
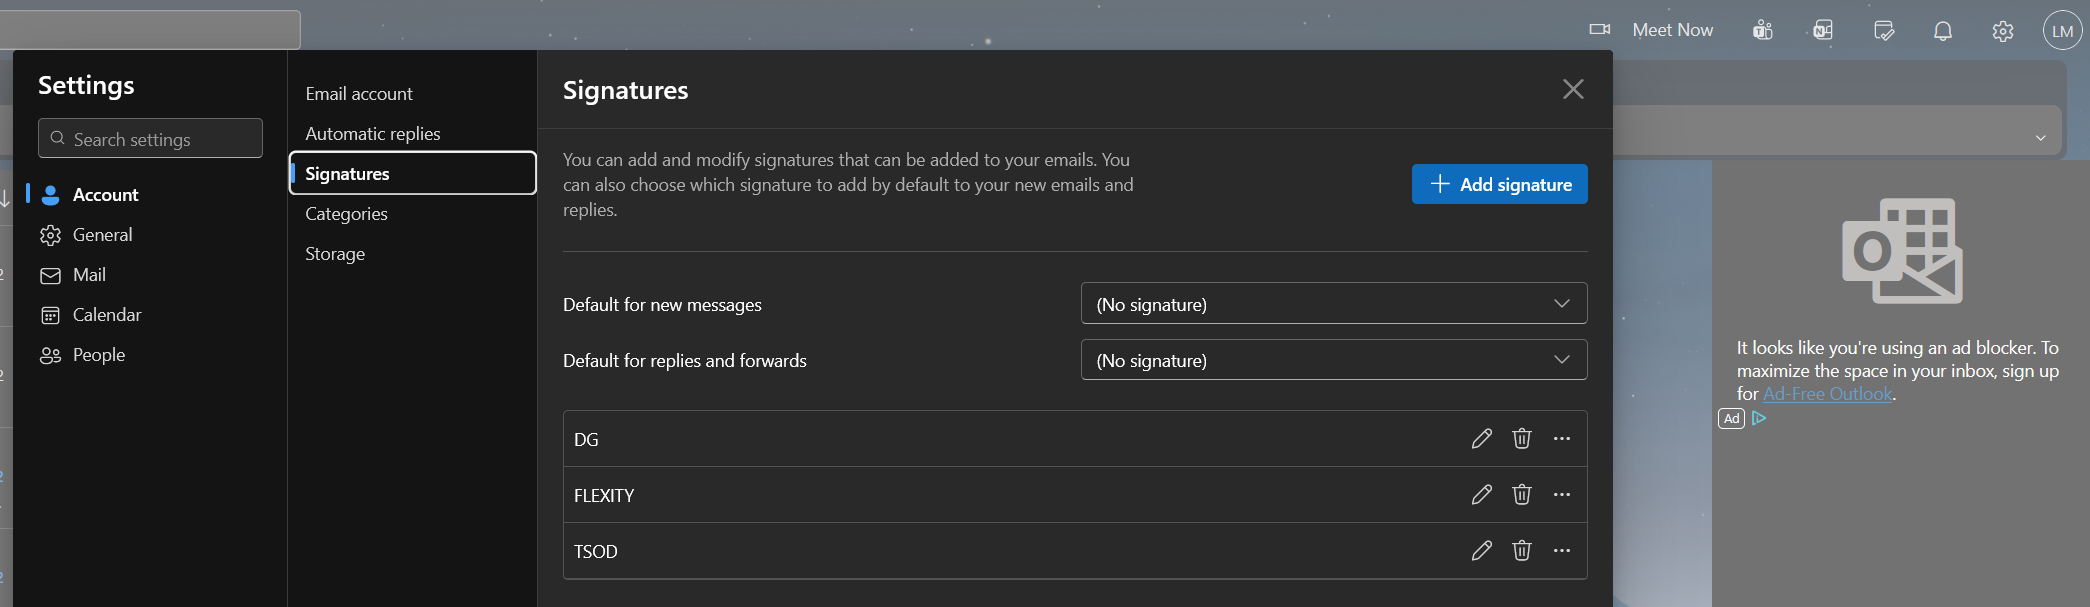
In Outlook Web:
Open Outlook in your browser.
Click the Settings icon in the top right.
Click Account.
Click Signatures.

In Outlook Desktop App:
Open Outlook.
Click Setting in the top right.
Click Accounts.
Click Signatures.


Click New to create a new signature.
Give it a name.
Click inside the large white box.
Press: Ctrl + V (windows) OR Command + V (Mac).
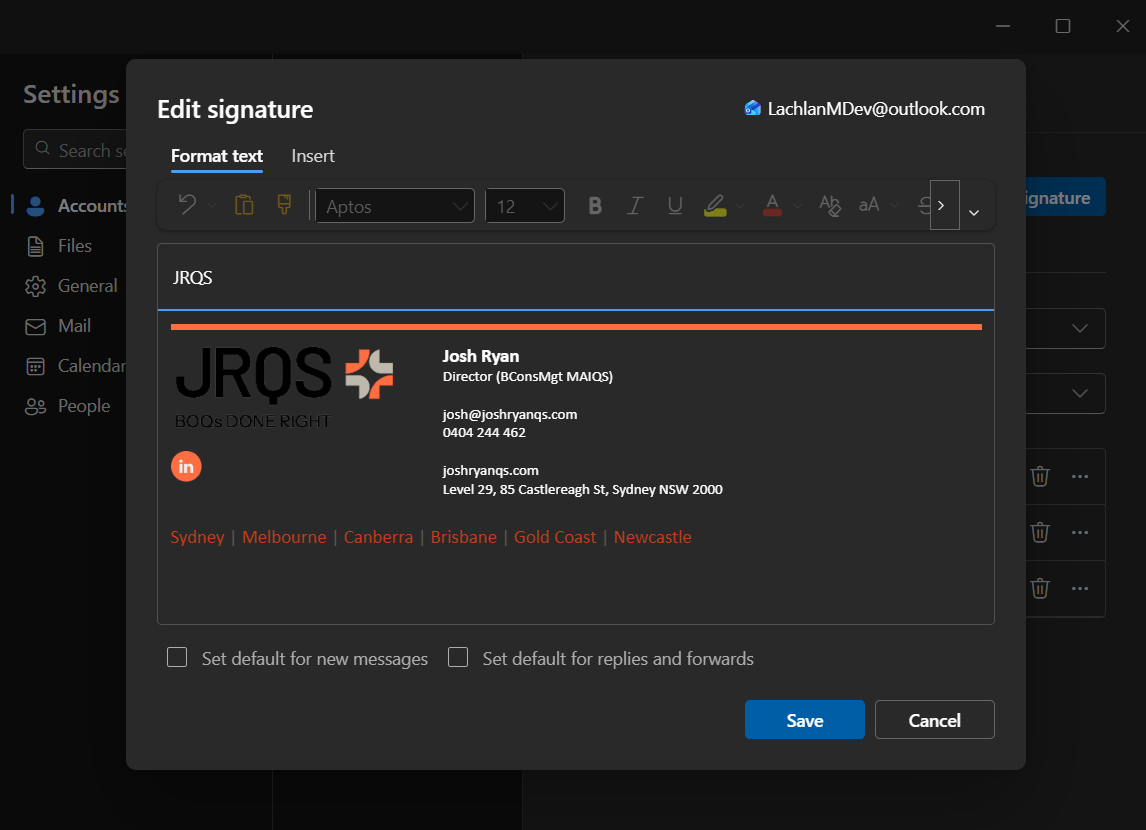
Your full designed signature should now appear.
If anything doesn’t look right, send us a screenshot and we’ll help you straight away.

